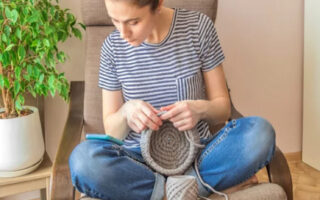
Crocheting a daisy granny square is a delightful way to add a touch of spring to your crochet projects. This pattern combines the traditional charm of granny squares with the whimsical beauty of daisies, making it perfect for blankets, pillows, and other decorative items. Here’s a comprehensive guide to help you crochet your own daisy granny square.
Materials Needed
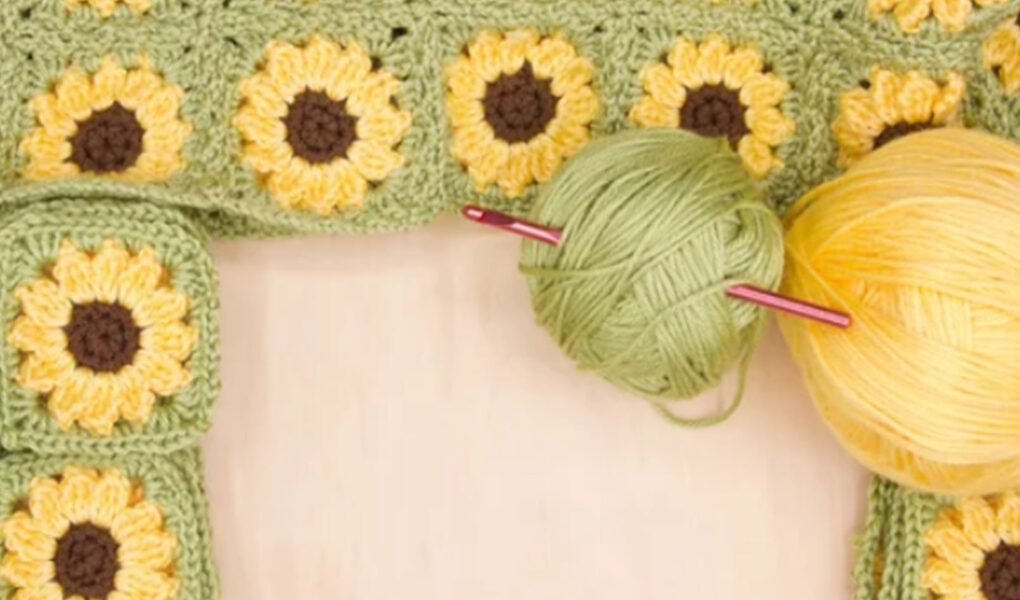
- Yarn: Choose your favorite colors. For a classic daisy look, you’ll need yellow for the center, white for the petals, and green for the square background. Opt for worsted weight yarn for a standard size square.
- Crochet Hook: A size H (5.0 mm) crochet hook works well with worsted weight yarn.
- Scissors: For cutting the yarn.
- Tapestry Needle: For weaving in the ends.
Abbreviations
- ch: chain
- sl st: slip stitch
- sc: single crochet
- dc: double crochet
- tr: treble crochet
- sp: space
- st: stitch
Instructions
Step 1: Crochet the Daisy Center
- Magic Ring: Start with a magic ring (or adjustable loop) using the yellow yarn.
- Round 1: Ch 2 (counts as first dc), then crochet 11 dc into the ring. Join with a sl st to the top of the starting ch-2. (12 dc)
- Fasten Off: Cut the yellow yarn and pull it through the loop on your hook.
Step 2: Crochet the Petals
- Attach White Yarn: Join the white yarn in any dc from Round 1.
- Petal Formation: Ch 3 (counts as first tr), then work 2 tr into the same st. Ch 3, sl st into the next st. This forms one petal.
- Repeat: Sl st into the next st, ch 3, 2 tr into the same st, ch 3, sl st into the next st. Repeat from * to * around. You should have 6 petals in total.
- Fasten Off: Cut the white yarn and pull it through the loop on your hook.
Step 3: Create the Granny Square Background
- Attach Green Yarn: Join the green yarn in any sl st between the petals.
- Round 1: Ch 3 (counts as first dc), 2 dc in the same sp, ch 2, 3 dc in the next sp. Repeat from * to * around. You should have 12 dc clusters (3 dc in each space). Join with a sl st to the top of the starting ch-3.
- Round 2: Sl st to the next ch-2 sp. Ch 3 (counts as first dc), 2 dc in the same sp, ch 2, 3 dc in the same sp (corner made). 3 dc in the next sp, 3 dc in the next ch-2 sp, ch 2, 3 dc in the same sp. Repeat from * to * around. Join with a sl st to the top of the starting ch-3.
- Repeat: Continue this pattern, increasing the number of 3-dc clusters along each side and working (3 dc, ch 2, 3 dc) in each corner ch-2 sp, until your granny square reaches the desired size.
Finishing Touches
- Weave in Ends: Use the tapestry needle to weave in any loose ends neatly.
- Block the Square: To ensure your square lays flat and the edges are even, block it by pinning it to a blocking mat and lightly misting it with water. Allow it to dry completely.
Tips for Success
- Color Choices: Feel free to experiment with different color combinations to match your project theme.
- Consistency: Keep your tension consistent to ensure all your squares are the same size.
- Join As You Go: If making a larger project, consider the join-as-you-go method to seamlessly connect your squares.
Crocheting a daisy granny square is a fun and rewarding project that combines various crochet techniques. Whether you’re making a single square for a coaster or multiple squares for a blanket, this pattern will surely add a charming touch to your creations. Happy crocheting!